Want to buy or sell something? Check the classifieds
  • The Fedora Lounge is supported in part by commission earning affiliate links sitewide. Please support us by using them. You may learn more here.

How To Paint On A Leather Jacket, Part 9: "Weathering" and "aging" Part 2

Stand By

One Too Many
Messages
1,741
Location
Canada
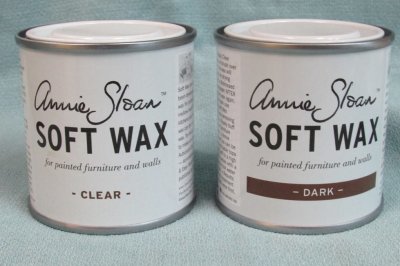
Another way of adding an "aging" effect is to add a coat or two of Annie Sloan “Soft Wax” to add an extra “weathering” effect and tone down the colours further - and to protect the finished art with a light wax coat.
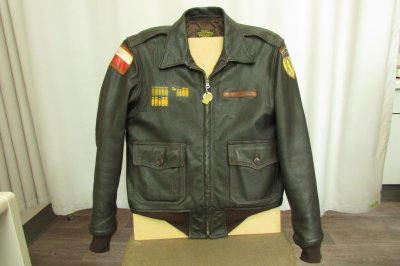
This is something I’ve only recently discovered for myself but I’ve added it to Lucky Dog.

The paints are really great - and the finishing waxes come as a clear coat and as a separate dark coat. They were developed for Annie Sloan’s range of chalk-based paints for home furniture/finishing and they go on to protect them and add a final stain/finish – and they work on all manner of items (wood, metal, plastic, they can even be used to stain fabric and linens) and they work on leather too.

Simply add the clear coat first – apply and wipe away the excess with a soft, lint-free cloth.
Then, after 2 hours, add the dark wax. It goes on rather like shoe polish – and really gets in between the grains and tones down the colours beautifully. Then simply wipe away the excess.
If you add it and then wish you hadn’t, simply apply the clear coat over it and it reactivates the dark coat and you can wipe it away. No harm done. Nobody dies.
And here is the process – and the finished result:
LuckyDogWeathering14.JPG
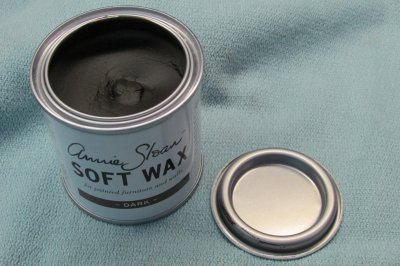
The Annie Sloan finishing wax

LuckyDogWeathering18.JPG
As you see, not unlike shoe polish inside.
LuckyDogWeathering15.JPG
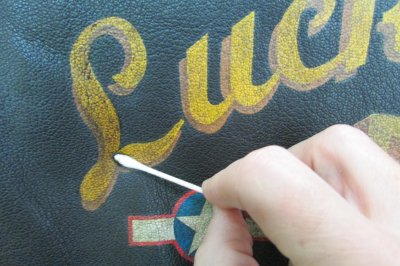
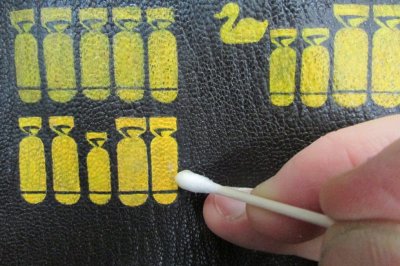
Using a Q-Tip as an applicator, use the clear coat first on your art and remove all the excess. Leave to dry for two hours.
LuckyDogWeathering19.JPG
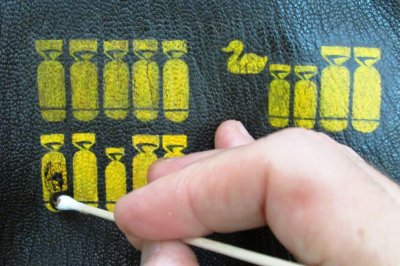
Liberally apply the dark coat. Don't be bashful about the amount.
LuckyDogWeathering20.JPG
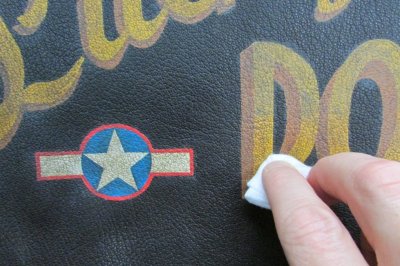
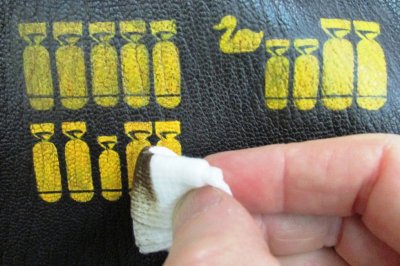
Then remove the excess with a soft cloth.
LuckyDogWeathering16.JPG
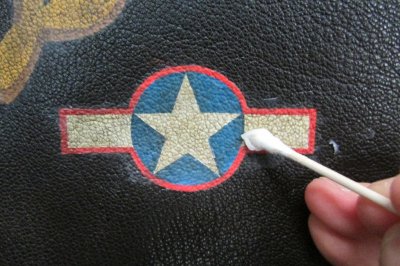
So again, for the back panel, use the clear coat first - and wipe away any excess - and just wait two hours.
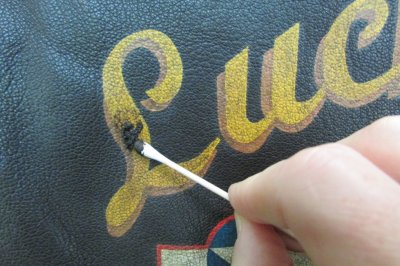
LuckyDogWeathering21.JPG
Then apply the dark coat.

LuckyDogWeathering22.JPG
Spread evenly with your Q-Tip.

LuckyDogWeathering17.JPG
And then remove the excess with your soft cloth.
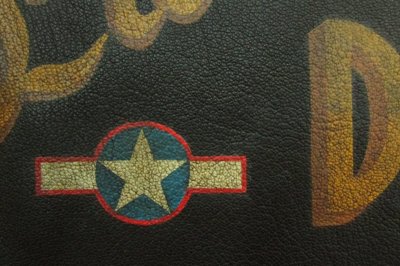
LuckyDogWeathering24.JPG
Add extra coats of the dark wax until you have the effect you desire.
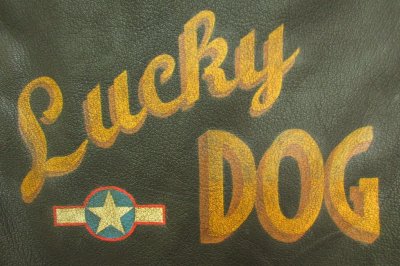
LuckyDogWeathering23.JPG [ LuckyDogWeathering27.JPG
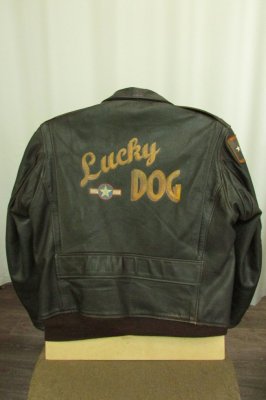
And then, Lucky Dog looked just right to me.
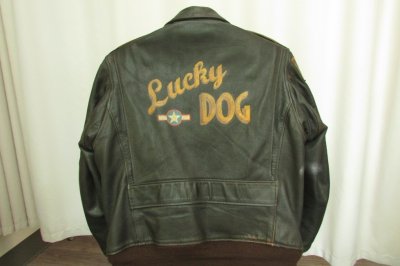
LuckyDogWeathering26.JPG LuckyDogWeathering25.JPG

So there it is! All done. :)
But I know that many folk around here all ask for "fit pics" - and I wanted to show the finished art outside under natural light (the most true and unforgiving) - so they're up in the conclusion.

End of Part 9.
 
Last edited:
Stand By

One Too Many
Messages
1,741
Location
Canada
Hi everyone,
For no reason I can think of, I ran into technical difficulties with this part and the images loaded as attachments that wouldn't open as something to see - so I've just gone into edit and have reloaded them and now they work. I can't explain it - but all's well that ends well.
Sorry if you tried to see before - now it's all good.
Cheers.
 

navetsea

I'll Lock Up
Messages
6,900
Location
East Java
these last 2 part of weathering are great, the fresh graphic is now blended with the rest of the jacket :D thanks Stand By for your excellent documentation, and the effort in explaining all of these steps, I hope somewhat it could be combined/ grouped into a single thread and stickied for further reference :)
 

Stand By

One Too Many
Messages
1,741
Location
Canada
Many thanks Navetsea! I appreciate the appreciation - the threads were more work than I originally thought, but thanks to the website designers here on TFL, I'm pleased with how they turned out and feel it was all well worth it in the end.
My only regret (if I have one) is that I couldn't demonstrate to you how to do a pin-up and show how the exact same principles for the simple bomb tallies are carried forth to a more detailed design like that. But my ANJ-3 has enough going on with the mission tallies and the leather patches already - a pin-up would make it look too "busy" and I'd risk over-egging the souffle, so to speak!
But Lucky Dog is a fine - and equally important - example of how, sometimes, less is more.

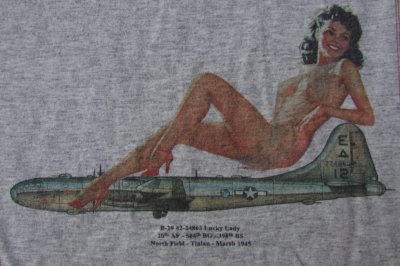
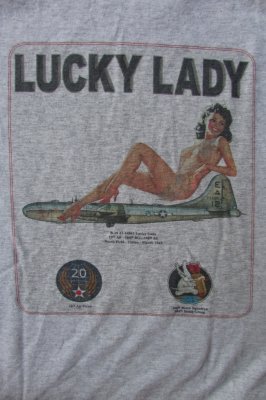
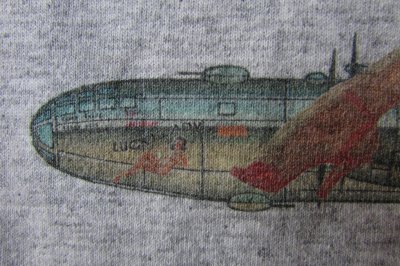
Another design I would have loved to have done here would be Lucky Lady - and I'd basically copy this design on the back of my (now faded) favourite t-shirt and it's a great composition, I think, with the B-29 with the pin-up against it. I think it really works.
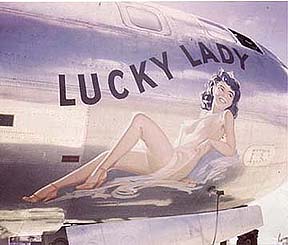
The lettering is nice - but some artistic license has been made as it's not as per the original nose art on the B-29, as you can see in the detail image where it was copied accurately from reference photos. But still, this gets back to what I was saying in Part 1 about the importance of careful thought regarding composition. This works well and someone did a nice job on it.
Maybe in a sequel ...???
LuckyLady#2.JPG LuckyLady#3.JPG LuckyLady#5.JPG
LuckLadyRef.jpg

I too hope that the threads can be collected as one article as I think it'd really help the readers out there out there who are wanting to have their own go at this, but that's a decision for the bar-keeps ...
Thanks again.
 
Last edited:
Stand By

One Too Many
Messages
1,741
Location
Canada
Just had the good news from Feraud that the threads will be added as a sticky, so my special thanks to those who have suggested this and helping to make this happen. I think a permanent sticky will really help serve as a reference for those who wish to have a crack at trying their hand at this in the future.
Thanks again to all - and the bar-keeps - for your interest.
 
Messages
16,912
Yes!!! It's a pain trying to find all of 'em, so this is great news. Just a sticky with links to each would be great! Thanks again, Stand By, for taking the time to share this knowledge!
 

Stand By

One Too Many
Messages
1,741
Location
Canada
Thanks Monitor!
Yes, I agreed with Feraud's suggestion that one sticky with the 10 parts enclosed within was the way to go … keeps everything neat.
And it's been my pleasure. Thanks.
 
Messages
16,912
Now I only need to find some decent paint and more importantly, guts, to paint something on my jacket. :D
 

Feraud

Bartender
Messages
17,188
Location
Hardlucksville, NY
Stand By engaged in the monumental task of creating 10 or more threads documenting the process of how to paint leather jackets.
The least we could do is give his hard work an organized sticky!

Expect to see this in a day or so.
 

2jakes

I'll Lock Up
Messages
9,680
Location
Alamo Heights ☀️ Texas
Now I only need to find some decent paint and more importantly, guts, to paint something on my jacket. :D


I have a suggestion before you proceed to your jacket !

Start with scraps of leather .

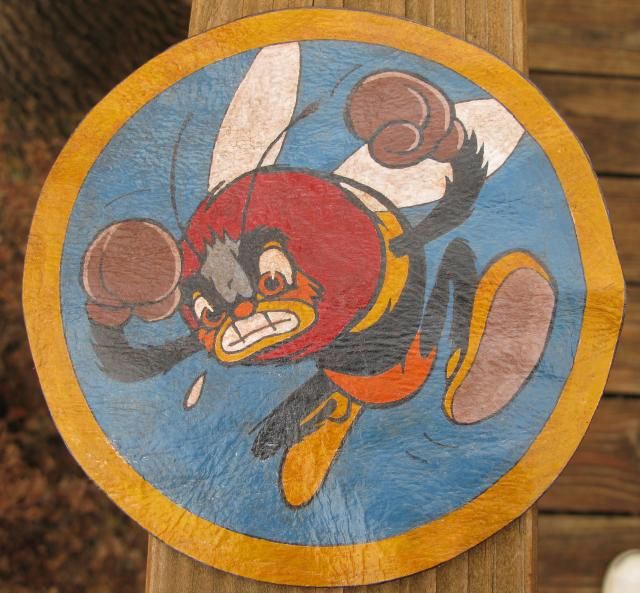
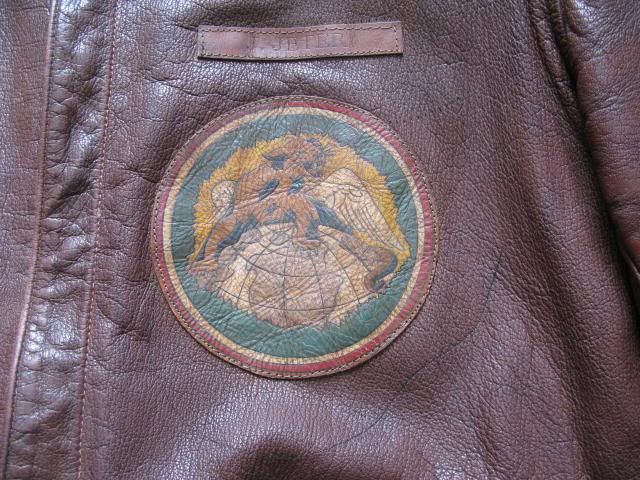
10s6vwl.jpg


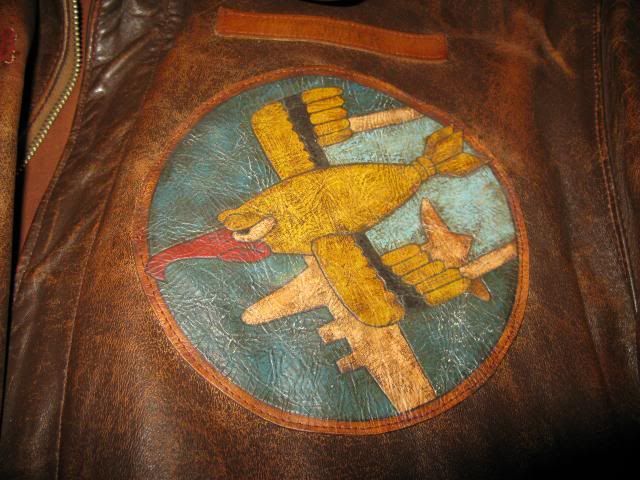
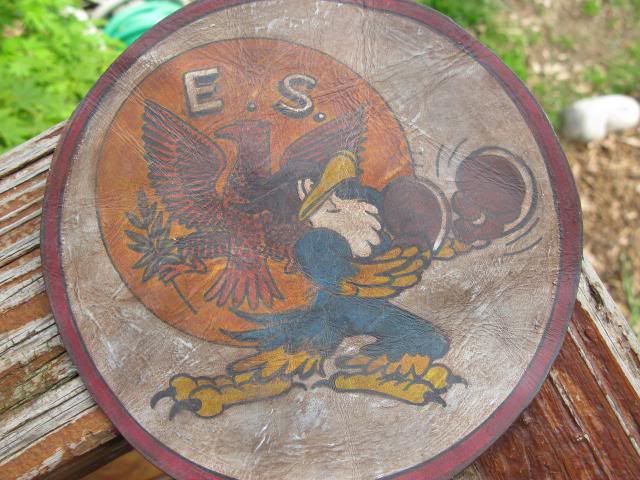
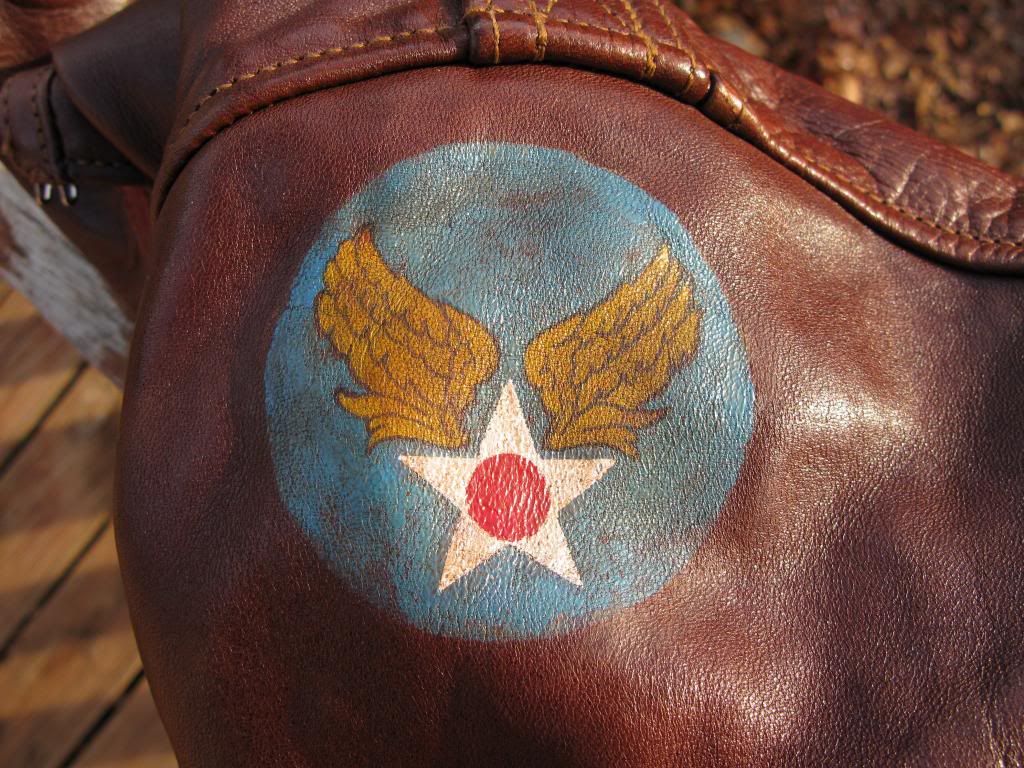
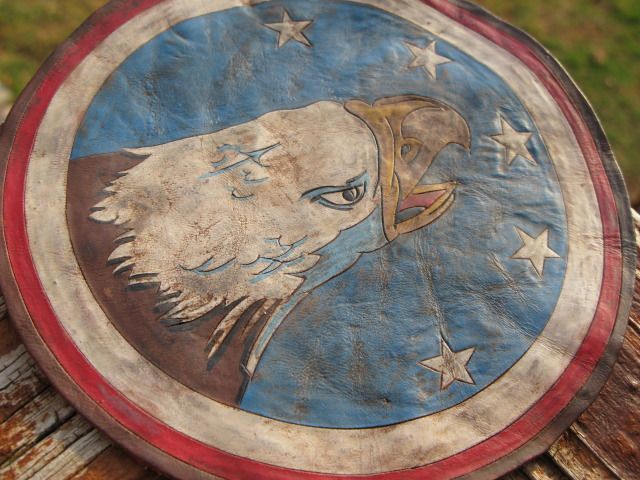
This is some of my stuff I have created on pieces of old leather.

nz0g74.jpg


This is my “palette” or working tools...
I use what ever it takes to “age it” .

2sbr3ti.jpg
3445jcn.jpg


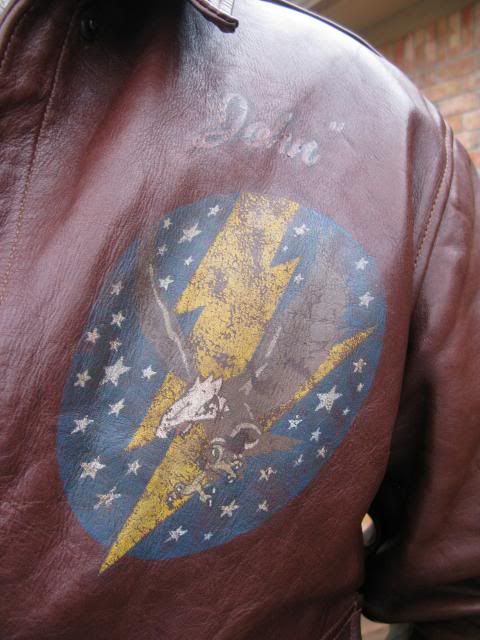
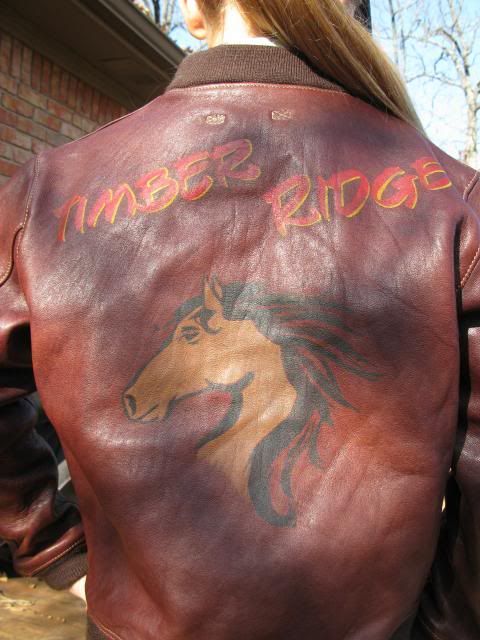
And this was my first attempt on a jacket:
2rnhb1f.jpg


It’s not perfect artwork...but like the originals...that’s what I like best.
 

Stand By

One Too Many
Messages
1,741
Location
Canada
Nice work, 2jakes! Really nice! :) I'd love to see more of what you've done ...
Exactly, as I said back in the beginning, testing on old pieces of leather is ideal (I used my old Aviation Leathercraft A2 after I hacked off the back panel to frame "Stand By"! Waste not, want not!) or a mounted canvas works nicely too - just take a test-run of your abilities before risking a jacket! (Not that I did then! I really should have done. The potential for disaster was immense, looking back!) And if all goes well, you'll learn a lot and then have a nice patch or some artwork to hang before you move on to risk a jacket. And by then, you'll be feeling more confident and eager/excited to give it a good go.
 

Big J

Call Me a Cab
Messages
2,961
Location
Japan
Stand By, that is a superb set of threads on painting jackets, that convinces me that the whole thing is waaay beyond my puney talent levels, and I should pay someone skilled like you, who can get it right!
 

CBI

One Too Many
Messages
1,419
Location
USA
Stand By's threads demo that anyone can give this a try if they don't mind spending some time on it. Be sure to make plenty of practice runs first!!!!!

Mods, when this becomes a sticky, feel free to remove my posts.

thanks 2jakes!
 

2jakes

I'll Lock Up
Messages
9,680
Location
Alamo Heights ☀️ Texas
Nice work, 2jakes! Really nice! :) I'd love to see more of what you've done ...
Exactly, as I said back in the beginning, testing on old pieces of leather is ideal (I used my old Aviation Leathercraft A2 after I hacked off the back panel to frame "Stand By"! Waste not, want not!) or a mounted canvas works nicely too - just take a test-run of your abilities before risking a jacket! (Not that I did then! I really should have done. The potential for disaster was immense, looking back!) And if all goes well, you'll learn a lot and then have a nice patch or some artwork to hang before you move on to risk a jacket. And by then, you'll be feeling more confident and eager/excited to give it a good go.

This was a study of one of my favorites images from that era.

jigahh.jpg


I did this with acrylics to see how it would adhere or look on leather.
I find that I can age it very well & it’s been years since I done any more.

Right now I’m on an “oil painting” mode which as you know takes time.
 
Messages
16,912
The Sticky turned out really excellent! Big thanks to Feraud for putting it together so neatly, and of course to Stand By for the tutorial! :D
 

Forum statistics

Threads
109,640
Messages
3,085,570
Members
54,471
Latest member
rakib
Top