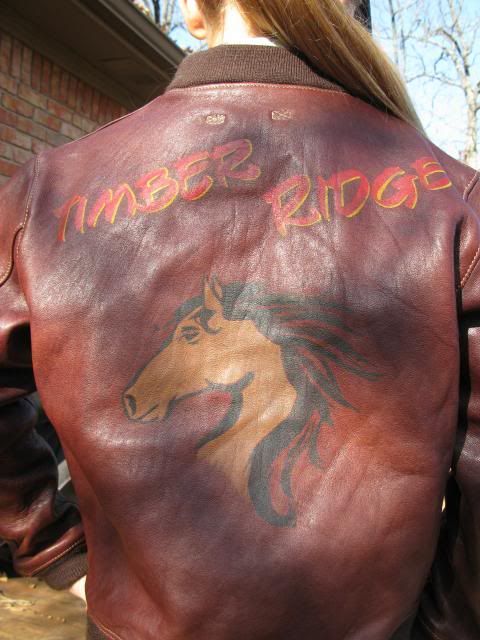
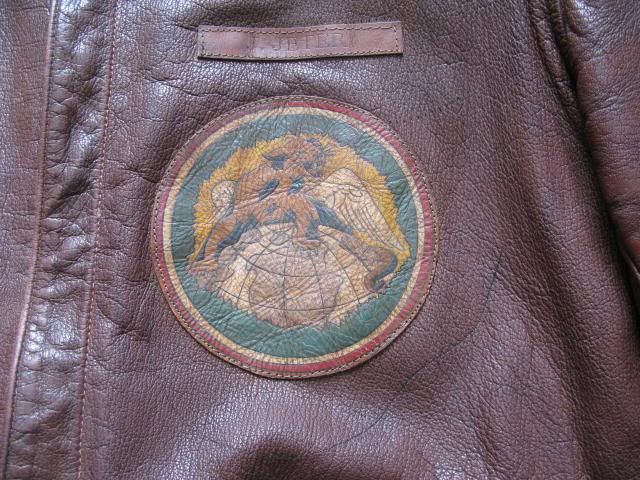
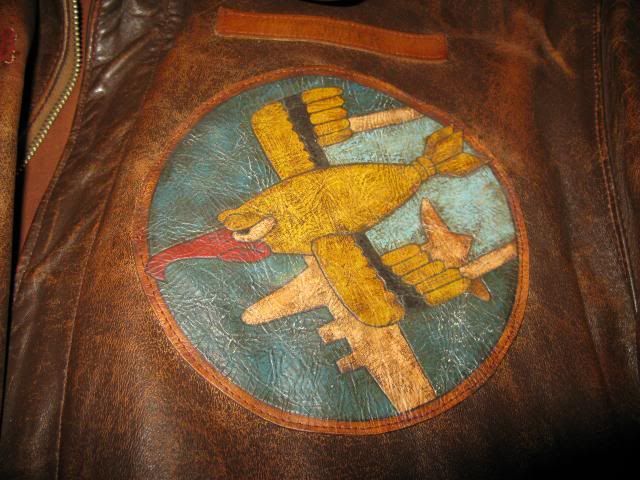
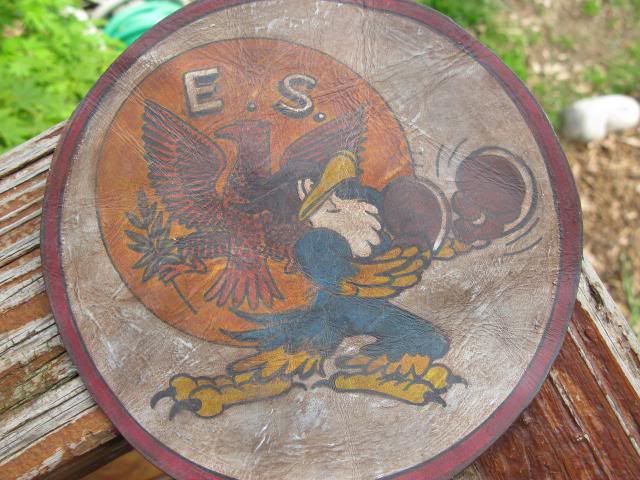
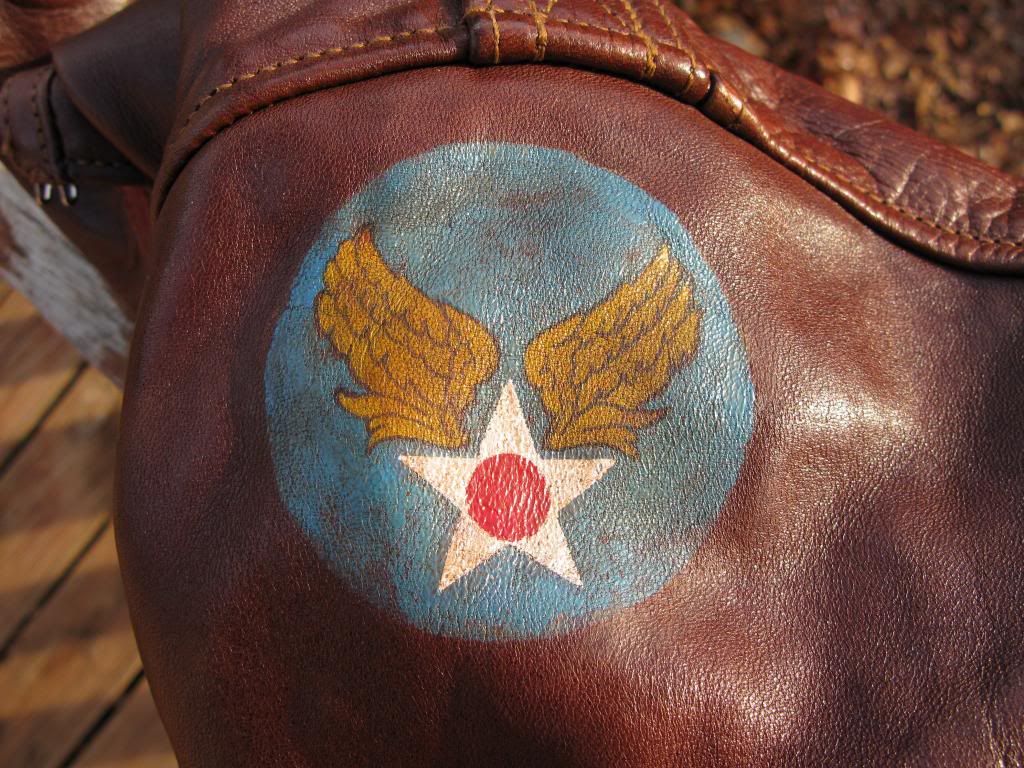
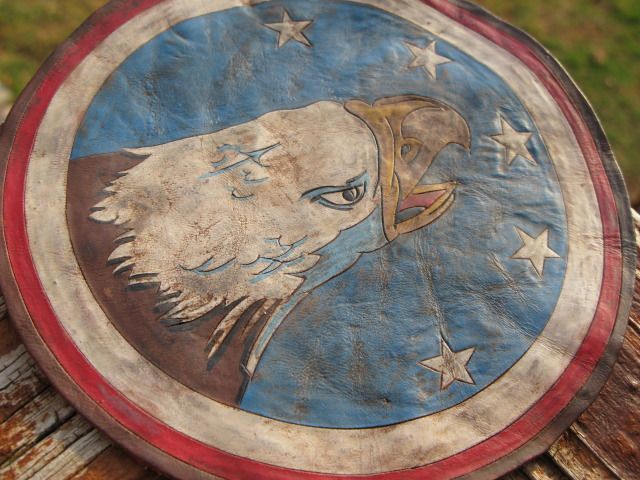
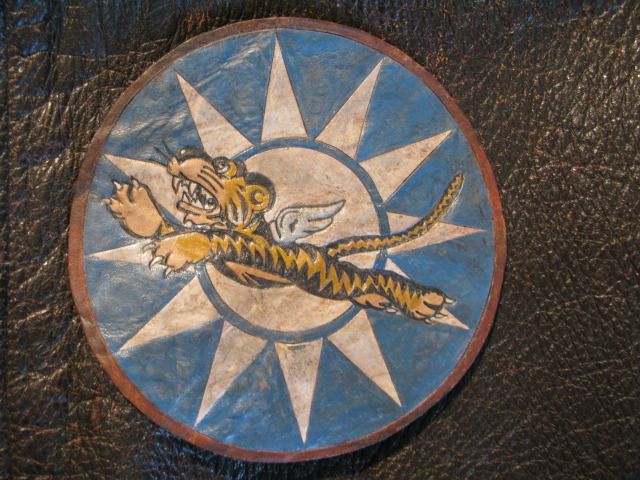
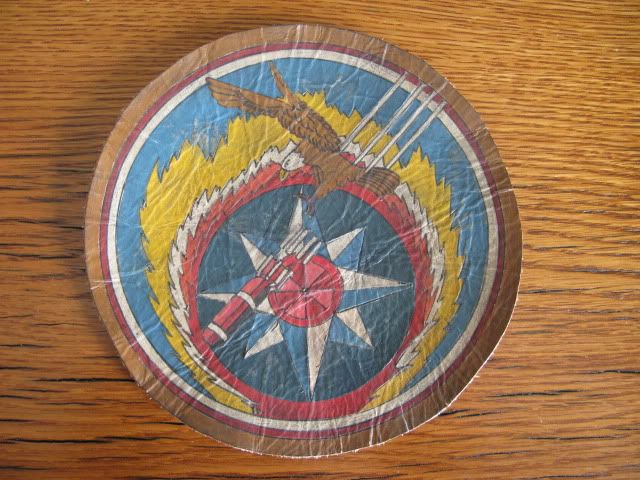
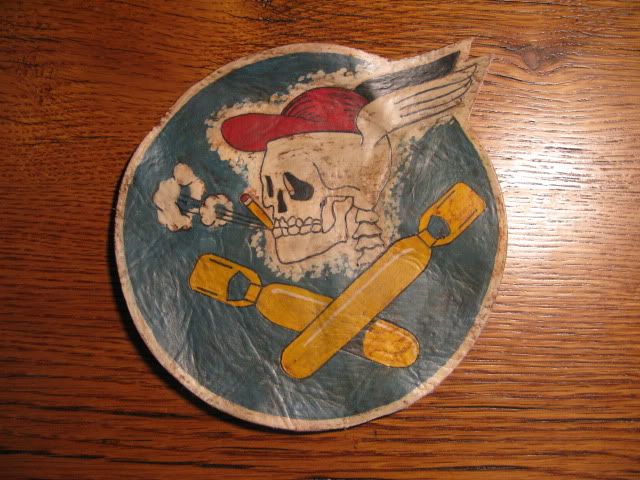
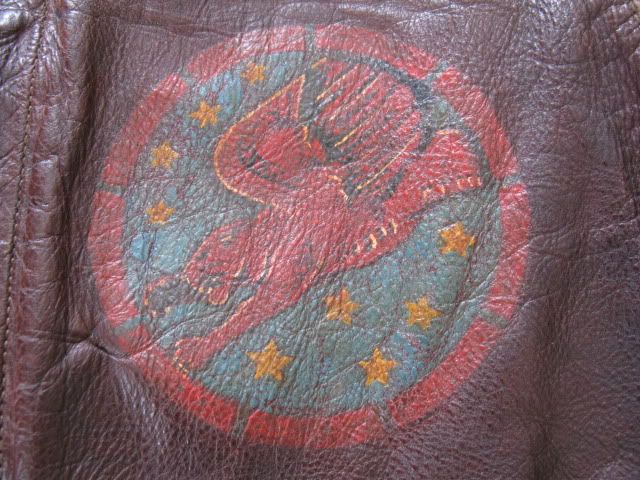
Another way of adding an "aging" effect is to add a coat or two of Annie Sloan “Soft Wax” to add an extra “weathering” effect and tone down the colours further - and to protect the finished art with a light wax coat.
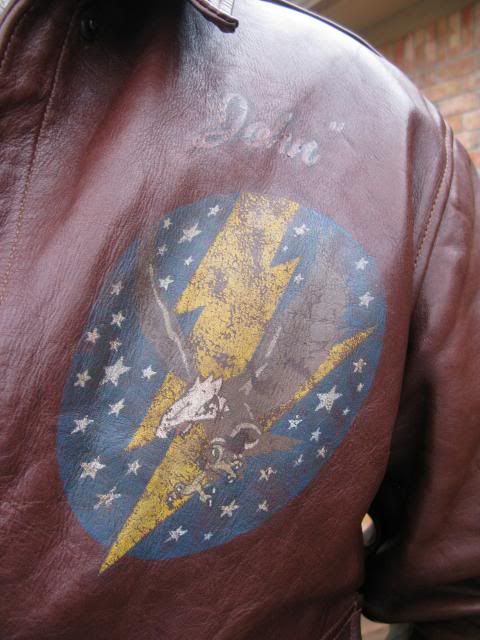
This is something I’ve only recently discovered for myself but I’ve added it to Lucky Dog.
The paints are really great - and the finishing waxes come as a clear coat and as a separate dark coat. They were developed for Annie Sloan’s range of chalk-based paints for home furniture/finishing and they go on to protect them and add a final stain/finish – and they work on all manner of items (wood, metal, plastic, they can even be used to stain fabric and linens) and they work on leather too.
Simply add the clear coat first – apply and wipe away the excess with a soft, lint-free cloth.
Then, after 2 hours, add the dark wax. It goes on rather like shoe polish – and really gets in between the grains and tones down the colours beautifully. Then simply wipe away the excess.
If you add it and then wish you hadn’t, simply apply the clear coat over it and it reactivates the dark coat and you can wipe it away. No harm done. Nobody dies.
And here is the process – and the finished result:
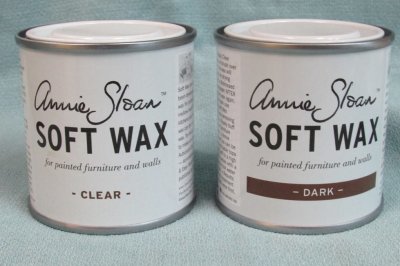
The Annie Sloan finishing wax
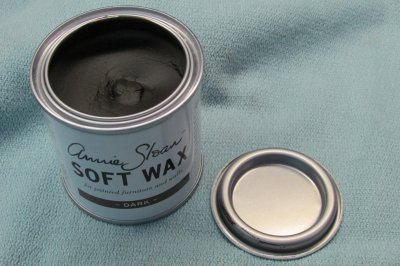
As you see, not unlike shoe polish inside.
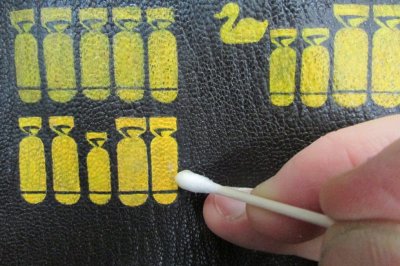
Using a Q-Tip as an applicator, use the clear coat first on your art and remove all the excess. Leave to dry for two hours.
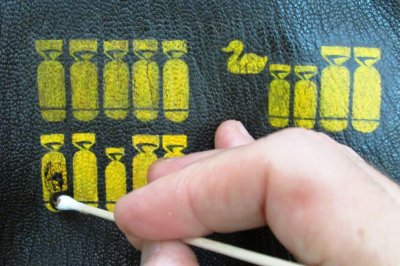
Liberally apply the dark coat. Don't be bashful about the amount.
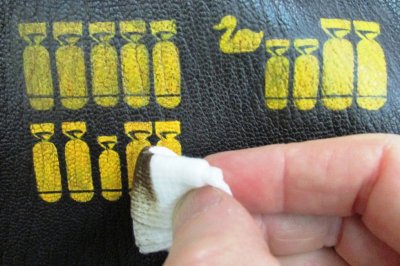
Then remove the excess with a soft cloth.
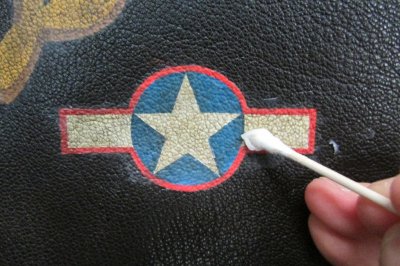
So again, for the back panel, use the clear coat first - and wipe away any excess - and just wait two hours.
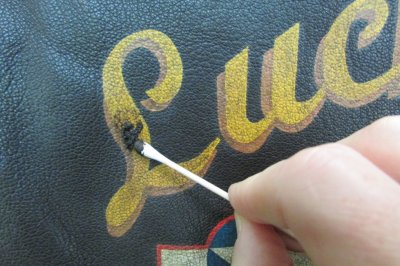
Then apply the dark coat.
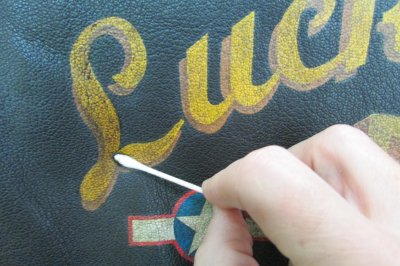
Spread evenly with your Q-Tip.
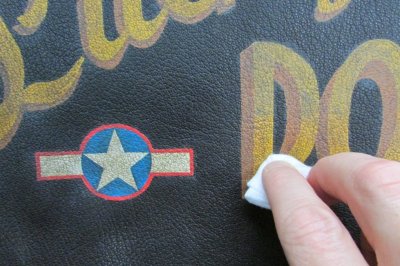
And then remove the excess with your soft cloth.
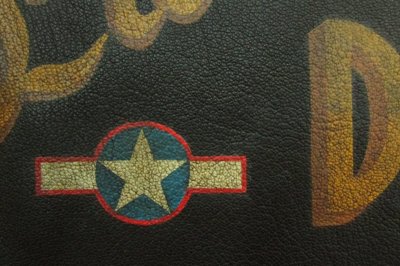
Add extra coats of the dark wax until you have the effect you desire.
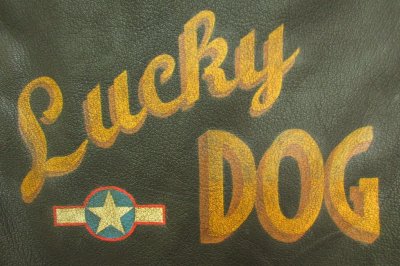 [
[
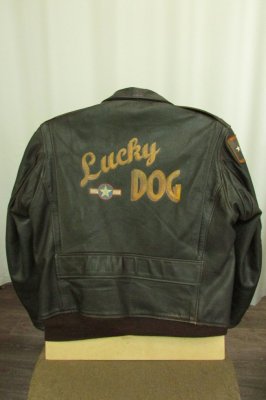
And then, Lucky Dog looked just right to me.
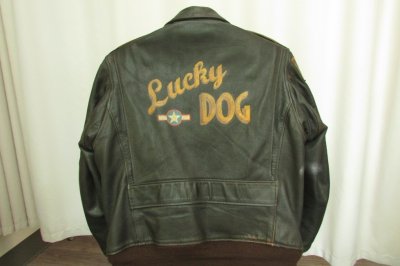
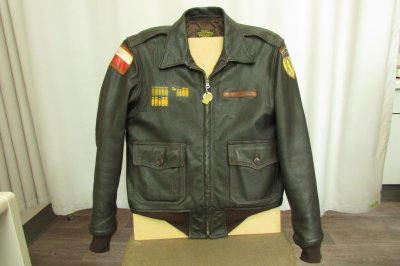
So there it is! All done.
But I know that many folk around here all ask for "fit pics" - and I wanted to show the finished art outside under natural light (the most true and unforgiving) - so they're up in the conclusion.
End of Part 9.
This is something I’ve only recently discovered for myself but I’ve added it to Lucky Dog.
The paints are really great - and the finishing waxes come as a clear coat and as a separate dark coat. They were developed for Annie Sloan’s range of chalk-based paints for home furniture/finishing and they go on to protect them and add a final stain/finish – and they work on all manner of items (wood, metal, plastic, they can even be used to stain fabric and linens) and they work on leather too.
Simply add the clear coat first – apply and wipe away the excess with a soft, lint-free cloth.
Then, after 2 hours, add the dark wax. It goes on rather like shoe polish – and really gets in between the grains and tones down the colours beautifully. Then simply wipe away the excess.
If you add it and then wish you hadn’t, simply apply the clear coat over it and it reactivates the dark coat and you can wipe it away. No harm done. Nobody dies.
And here is the process – and the finished result:

The Annie Sloan finishing wax

As you see, not unlike shoe polish inside.

Using a Q-Tip as an applicator, use the clear coat first on your art and remove all the excess. Leave to dry for two hours.

Liberally apply the dark coat. Don't be bashful about the amount.

Then remove the excess with a soft cloth.

So again, for the back panel, use the clear coat first - and wipe away any excess - and just wait two hours.

Then apply the dark coat.

Spread evenly with your Q-Tip.

And then remove the excess with your soft cloth.

Add extra coats of the dark wax until you have the effect you desire.
 [
[

And then, Lucky Dog looked just right to me.


So there it is! All done.
But I know that many folk around here all ask for "fit pics" - and I wanted to show the finished art outside under natural light (the most true and unforgiving) - so they're up in the conclusion.
End of Part 9.
Last edited:
