Dumpster Diver
Practically Family
- Messages
- 952
- Location
- Ontario
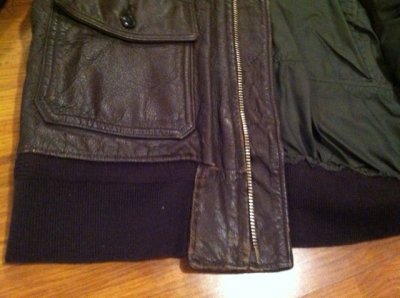
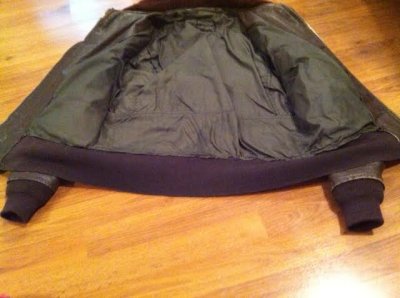
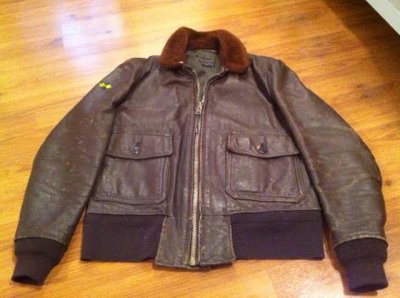
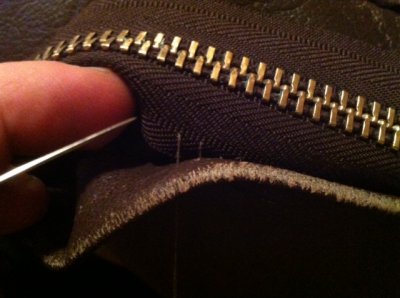
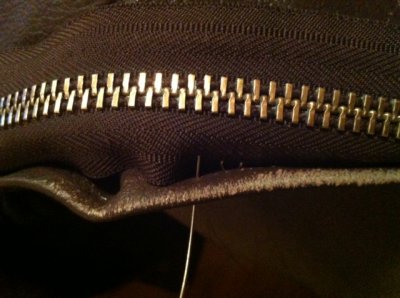
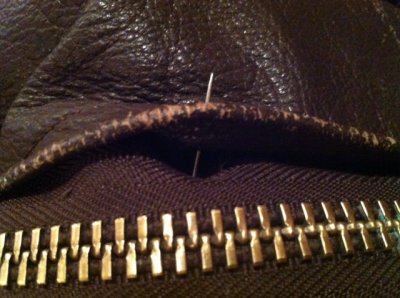
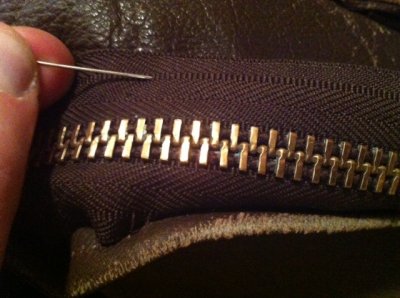
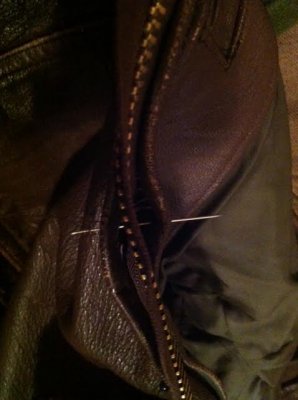
the zipper Was Thick with Years of Gunk and was installed too close to the seam and The pull Really Rubbed the Leather and scuffed it like I said. It was the More technical Job but actually when done properly is the more satisfying Part of the work. Here you can see there are two Sides to the shell, and they are Double-ply, The trick is to Guide the needle through one pair of holes at a time, and flipping the zipper keeping the holes Lined up is also Important. Start with the zipper done up, and go from the bottom to the top, having Secured it in place with a good amount of pins to hold it. I studied the zipper tape to find the correct point of placement wich you can see Im indicating by pointing to it with the needle. this is the straight line to keep you in check all the way up making it easier to follow.
Before anything I WASHED the Replacement YKK zipper by hand quickly using some dish soap and then polished it with a little brasso, really important to do this, it was also goobered up and stinky as the liner, which is still to be washed by hand. Its not an original type ZIP but Looks the part close enough.
Ok, so you can see the pics and I did my best to illustrate it step-by-step to get the general idea, if your working and pushing the needle too hard youre not doing something right. It should be easy and steady work when done with confidence.
by the halfway point I was bootin!!!
I think I re-loaded the needle once per side of the zip. (about 6 feet of doubled up thread)
ghetto but IF its working, its good enough.
Hell, better than the last Guy who Just slammed in the replacement zip and went full-speed ahead without giving a toot.
Last edited:


