Warbaby
One Too Many
- Messages
- 1,549
- Location
- The Wilds of Vancouver Island
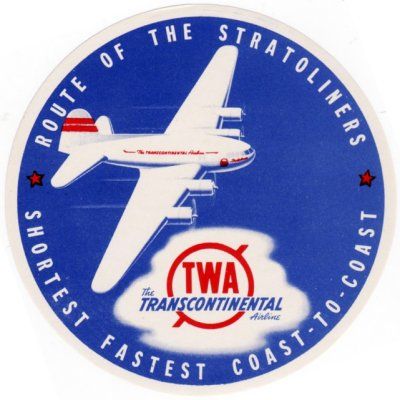
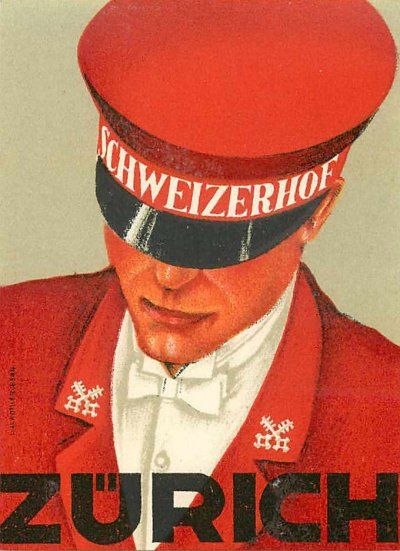
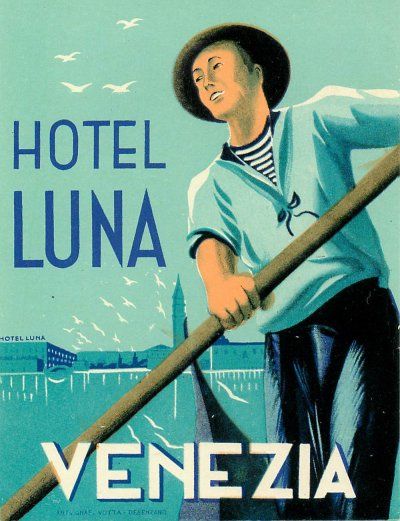
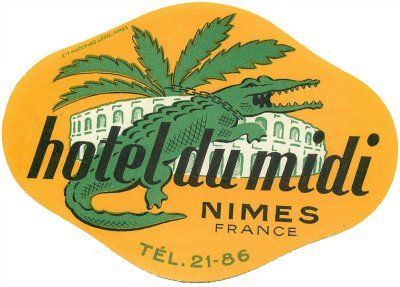
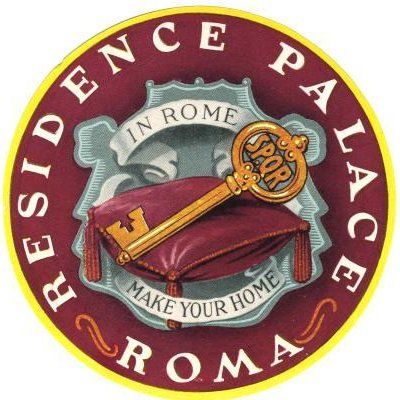
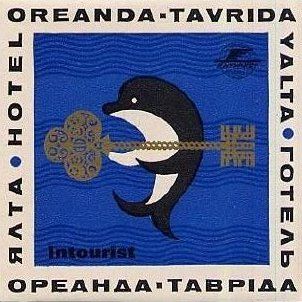
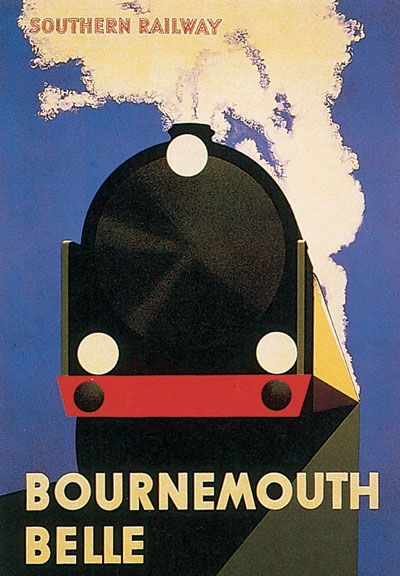
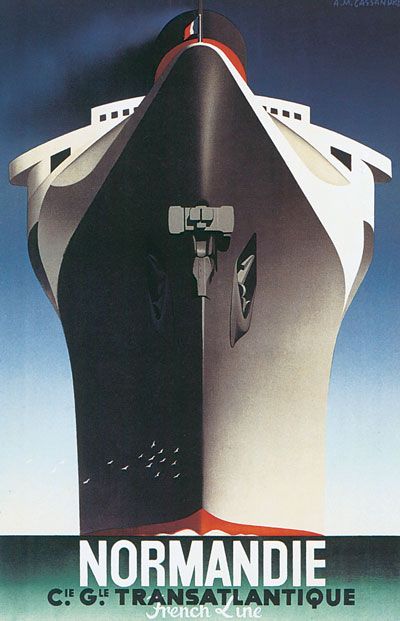
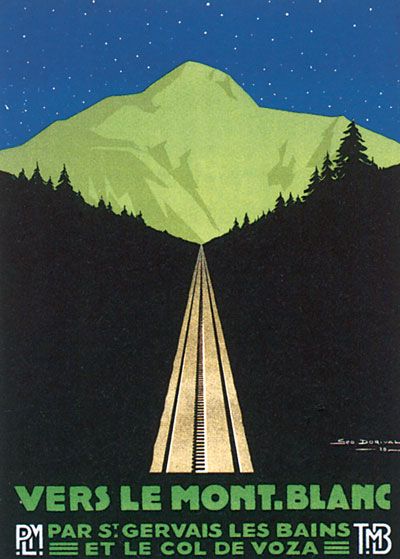
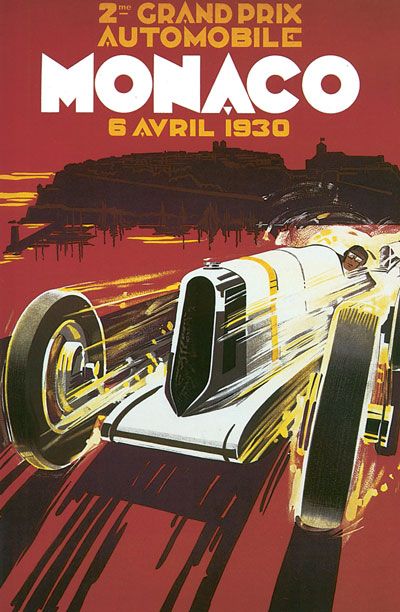
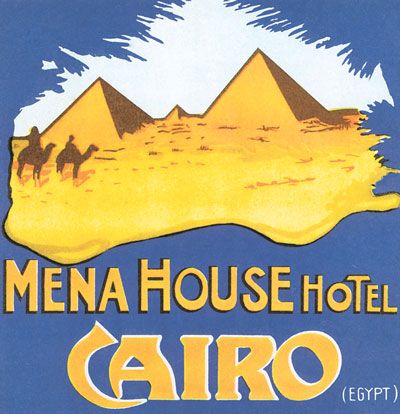
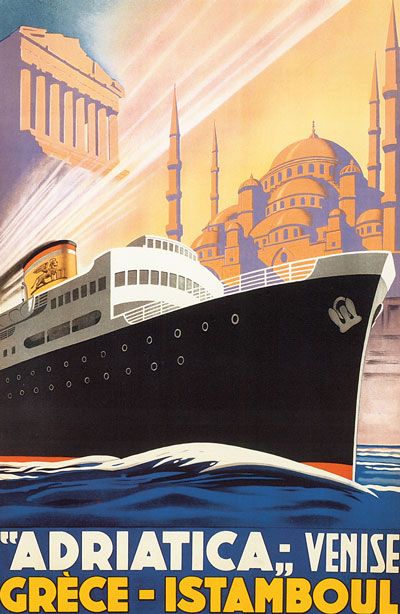
I've been collecting vingtage luggage labels for several years, though I've only got about 40 originals due to the cost of the really good ones. I also have several hundred that I've grabbed from eBay and other sources that I'm restoring and reproducing to use on my own collection of vintage luggage. My plan is to create imaginary journeys on each piece of luggage. Often the images of the labels I grab are not in the best condition or are the wrong size. Thought y'all might like some tips on restoring and reproducing them.
1. Open the image in Photoshop
2. Convert the image size to 600 ppi
3. Crop and straighten the image as needed
4. Using the Clone Tool, touch up any folds, tears or other faults
5. Adjust the contrast and brightness
6. Adjust the Image Size to whatever size the original was
7. Add an appropriate amount of Unsharp Mask to crisp them up
8. Save as a .psd file
9. Create a new 600 ppi Photoshop file in 8.5 x 11
10. Copy and paste several restored images on the new file
11. Save as a .psd file
12. Print the new file on a thin, high quality photo paper
13. Cut 'em out
Gotta go to a meeting now, but I'll post more later on how to age them, treat them for permanency, and apply them to the luggage.
