Brad Bowers
I'll Lock Up
- Messages
- 4,187
Here’s my stitch awl tutorial. I apologize for some of the photos being out of focus. It was hard to tell at the time, and not very easy taking photos with one hand.
I use a Singer 70/9 sewing machine needle in my stitch awl’s chuck. I don’t have the thread wound onto the spool inside the awl, though, as I’ve never been able to open this one up, even with pliers. So, my thread remains loose, but I just have to make sure I have enough thread. I use enough thread to go around the crown four times, and cut off the excess at the end. Three times is about right, but I always like to have plenty to work with.
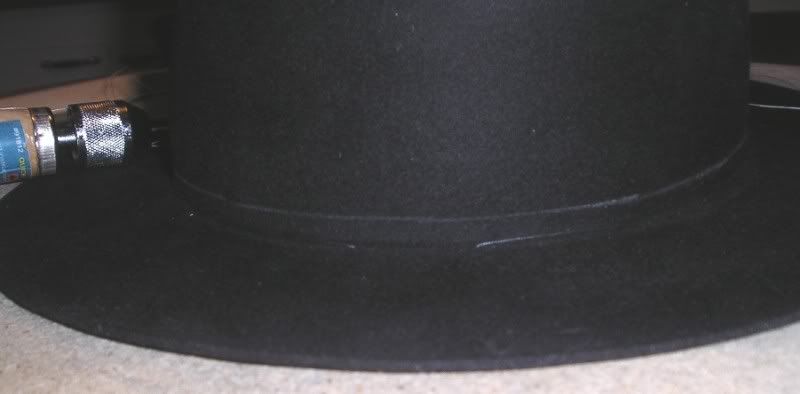
Before stitching, I mark off the stitch line with a tailor’s pencil.
The sweatband has already been basted in place and has been turned out for working. Make the initial hole, and pull one side of the thread all the way through, so that it remains on the inside of the crown.
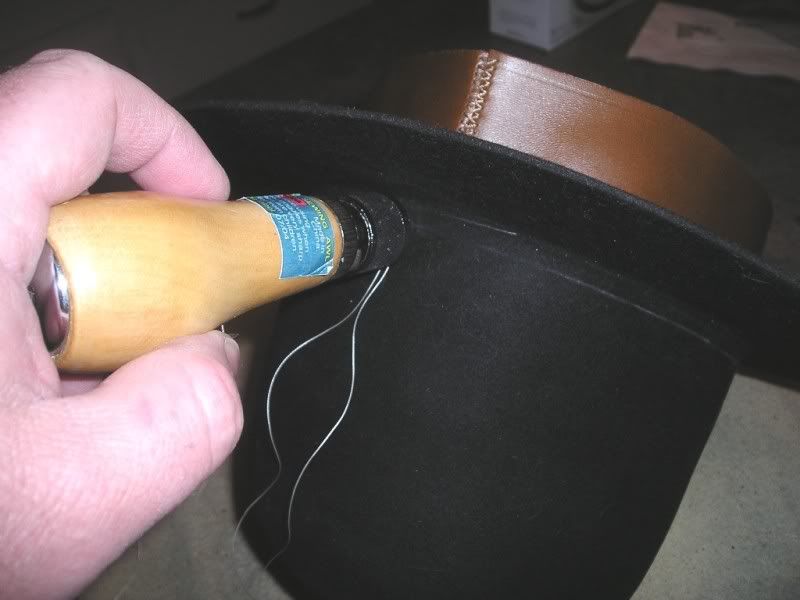
When making each hole, I always tug down on the tape into the crown. This makes the sweatband fit snugly into the hat, and prevents it from extending below the brimline.
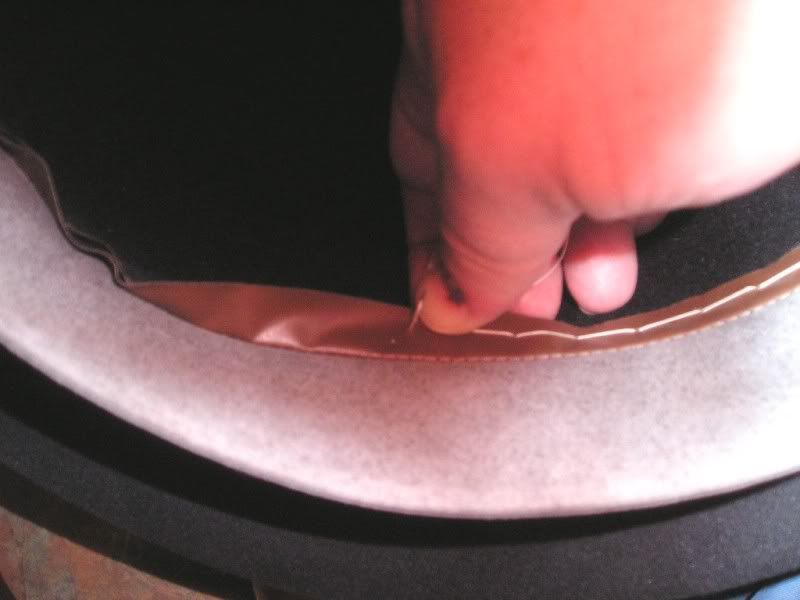
It’s easy to get into a rhythm with the stitch awl and the sewing goes by pretty fast.
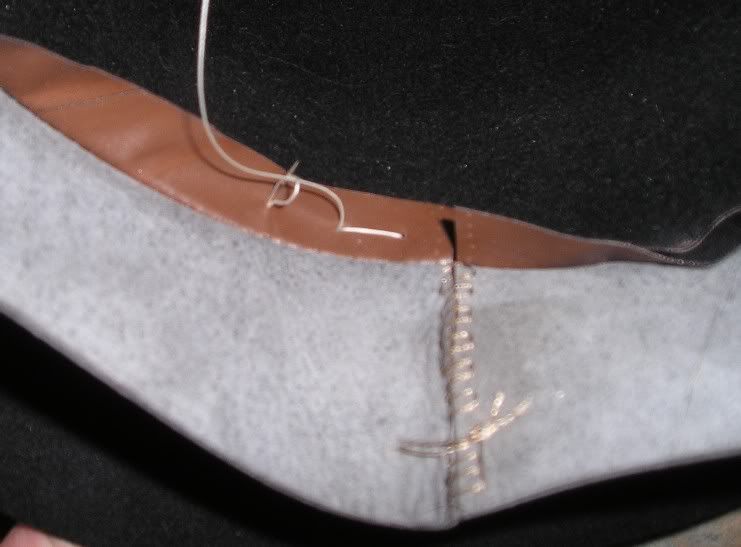
This photo shows how you thread the end back through one of the loops. Always make sure you put it through the correct loop, or you’ll have to pull that stitch out and start it over again.
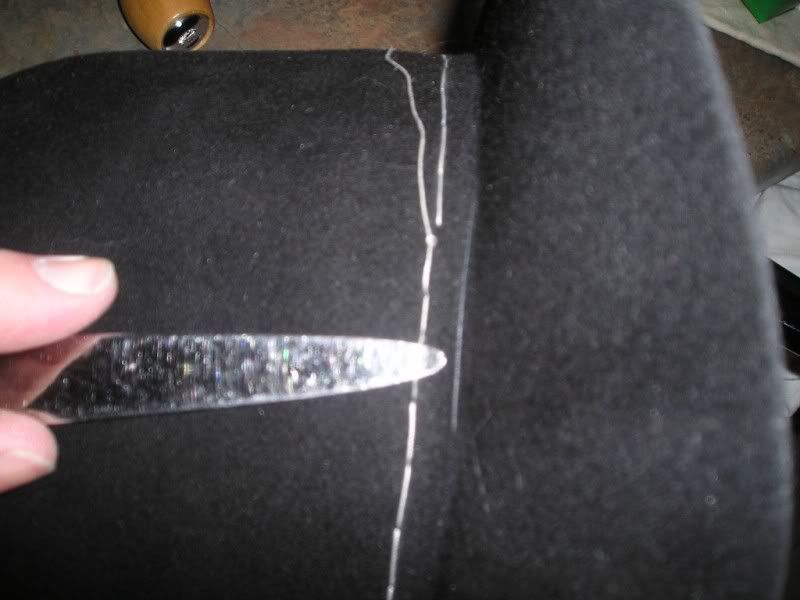
When I finish stitching, but before I tie it off, I go around to each stitch, and insert a letter opener and pull outward, taking up the slack. I do this on the outside and the inside. Even when you think you are pulling your stitches tight, you’ll still end up with a couple of inches of slack, which you take out with this step. This is a good habit to get into, even if you don’t use a stitch awl.
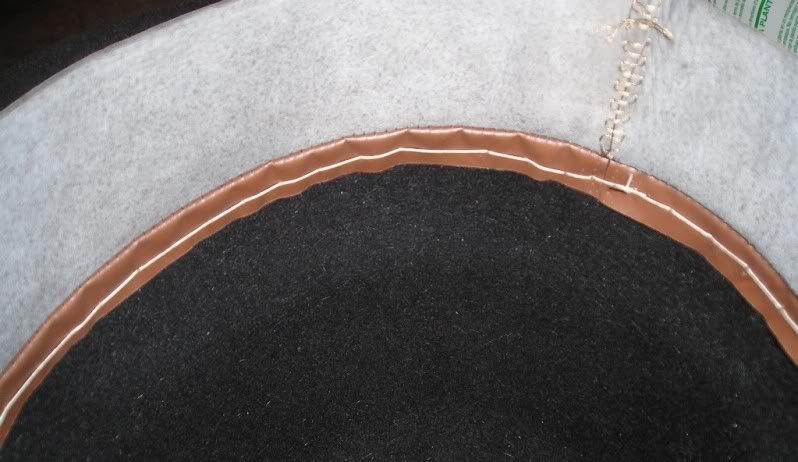
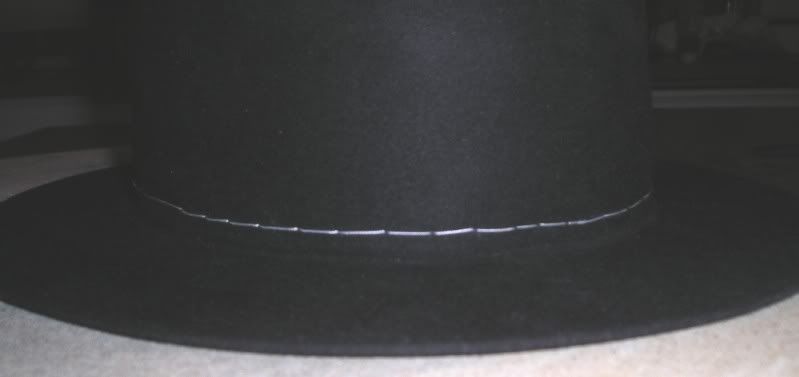
Finally, the stitching is finished.
Brad
I use a Singer 70/9 sewing machine needle in my stitch awl’s chuck. I don’t have the thread wound onto the spool inside the awl, though, as I’ve never been able to open this one up, even with pliers. So, my thread remains loose, but I just have to make sure I have enough thread. I use enough thread to go around the crown four times, and cut off the excess at the end. Three times is about right, but I always like to have plenty to work with.
Before stitching, I mark off the stitch line with a tailor’s pencil.

The sweatband has already been basted in place and has been turned out for working. Make the initial hole, and pull one side of the thread all the way through, so that it remains on the inside of the crown.

When making each hole, I always tug down on the tape into the crown. This makes the sweatband fit snugly into the hat, and prevents it from extending below the brimline.

It’s easy to get into a rhythm with the stitch awl and the sewing goes by pretty fast.
This photo shows how you thread the end back through one of the loops. Always make sure you put it through the correct loop, or you’ll have to pull that stitch out and start it over again.

When I finish stitching, but before I tie it off, I go around to each stitch, and insert a letter opener and pull outward, taking up the slack. I do this on the outside and the inside. Even when you think you are pulling your stitches tight, you’ll still end up with a couple of inches of slack, which you take out with this step. This is a good habit to get into, even if you don’t use a stitch awl.

Finally, the stitching is finished.


Brad
