Want to buy or sell something? Check the classifieds
  • The Fedora Lounge is supported in part by commission earning affiliate links sitewide. Please support us by using them. You may learn more here.

Basics of cleaning....

Johnnysan

One Too Many
Messages
1,171
Location
Central Illinois
Naphtha can be tricky, but also, very effective. My experience is limited to two hats, but I'll share what I learned.

First, use the naphtha outdoors where you have good ventilation and no flames or sparks!

On the first hat - a light grey Cavanagh - I tried to "spot clean" the brim only. That left me with a visibly clean spot on an otherwise darker brim. I then attempted to clean the rest of the brim, leaving me with a two-toned hat (light grey brim/dark grey crown).

The second hat, I completely immersed in the naphtha using a large plastic washtub and let it soak for a bit. I then pulled it out of the naphtha and set it outside to dry. The result was MUCH better.

As for preparing the hat, I've seen numerous posts that suggest you can immerse the whole hat (sweatband and all) and an equal number suggesting that you should remove the leather sweatband from the hat if you want to preserve it. I stripped the second hat down completely as it was a beater "project" hat that I was intendeing to resize and the original leather sweatband was of no use to me. I'll leave it others with more experience to help you decide which way is best.

Good luck! ;)
 

RBH

Bartender
Naptha is what I use, and I have used it on a Stratoliner, 3 Open Roads and a Penneys Marathon among others. Just soak the whole hat..sweat and all for a few hours. Then let dry open crowned and you should have a cleaner hat.
Good Luck ! Also please post and tell what you experienced with 'your' try at a cleaning!
 

bolthead

My Mail is Forwarded Here
Messages
3,905
Location
Pennsylvania, United States
RBH said:
Naptha is what I use, and I have used it on a Stratoliner, 3 Open Roads and a Penneys Marathon among others. Just soak the whole hat..sweat and all for a few hours. Then let dry open crowned and you should have a cleaner hat.
Good Luck ! Also please post and tell what you experienced with 'your' try at a cleaning!
What about the liner though....do you have to remove that? :rolleyes:
 

Kilroy

New in Town
Messages
24
Location
Laredo, TX
Remove the liner?

Due to bad advice, I left the liner on the first hat I soaked in naptha. It etched the plastic in the liner. From then on, I removed the liner. The sweat is no big deal. It will wilt and whiten a little but rubbing it out with a leather conditioner will put it back in good shape. I also brush the hat in a cc direction halfway through the soak time. I've done six different hats and can say naptha really does the job. Silver belly will almost sparkle.
You may or may not have to use a stretcher to get the hat back to your fit.
 

Tango Yankee

Call Me a Cab
Messages
2,433
Location
Lucasville, OH
Make sure your sweatband is in good condition before putting it in, though. I cleaned a hat for my brother-in-law. The sweat was not in the greatest shape, and it partially disintigrated in the naptha. I had black bits suspended in the naptha. I always filter the naptha after use, but this time I went through a number of filters getting all the crap out.

On the other hand, another hat with a good sweat had no issues.

Cheers,
Tom
 

RBH

Bartender
bolthead said:
Is it safe to assume that the top of the liner isn't covered in plastic? :rolleyes:
I remember for sure I had one with plastic in the very top... I did not have any problem with that one. It may have been one of the westerns I re-did and may have been a little newer model.
Just to be on the safe side I would remove liners in the vintage hats and clean the liner with something else.
 

buler

I'll Lock Up
Messages
4,385
Location
Wisconsin
Since I just bought a pretty filthy hat I thought I'd take pics of my current basic cleaning process. Most of this I've learned from many here but I thought I'd share it as a basics thread and maybe someone can pick something up.

Please add any of your techniques or suggestions.

B

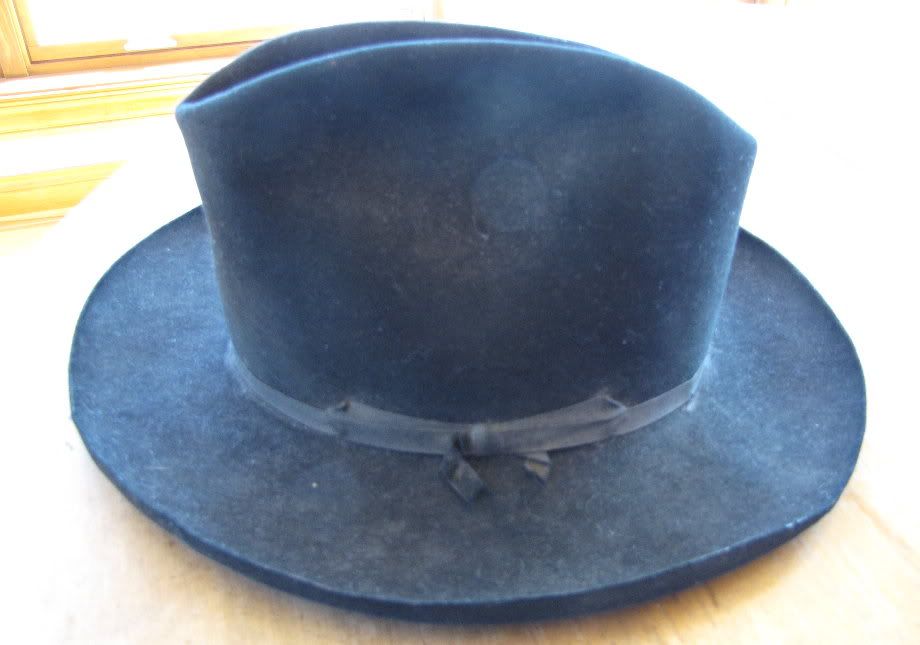
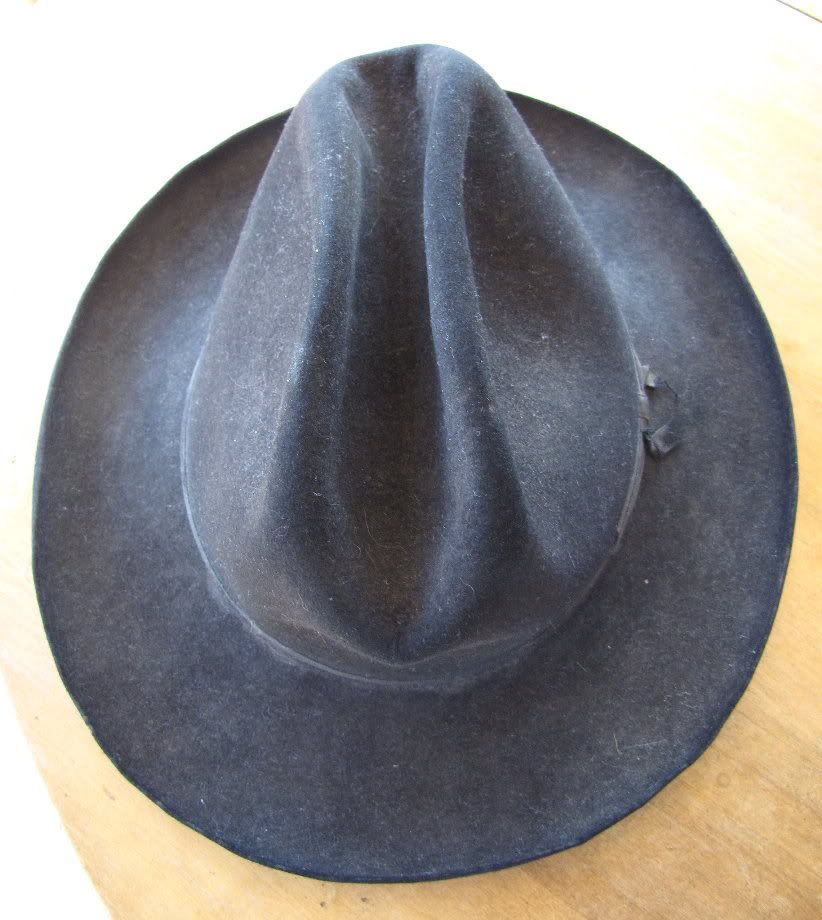
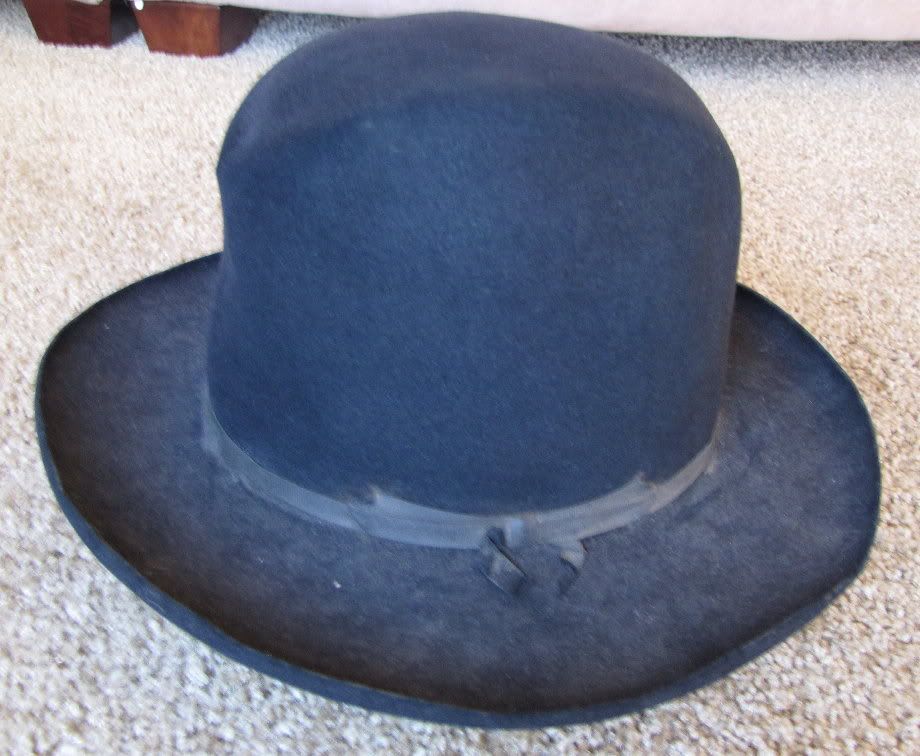
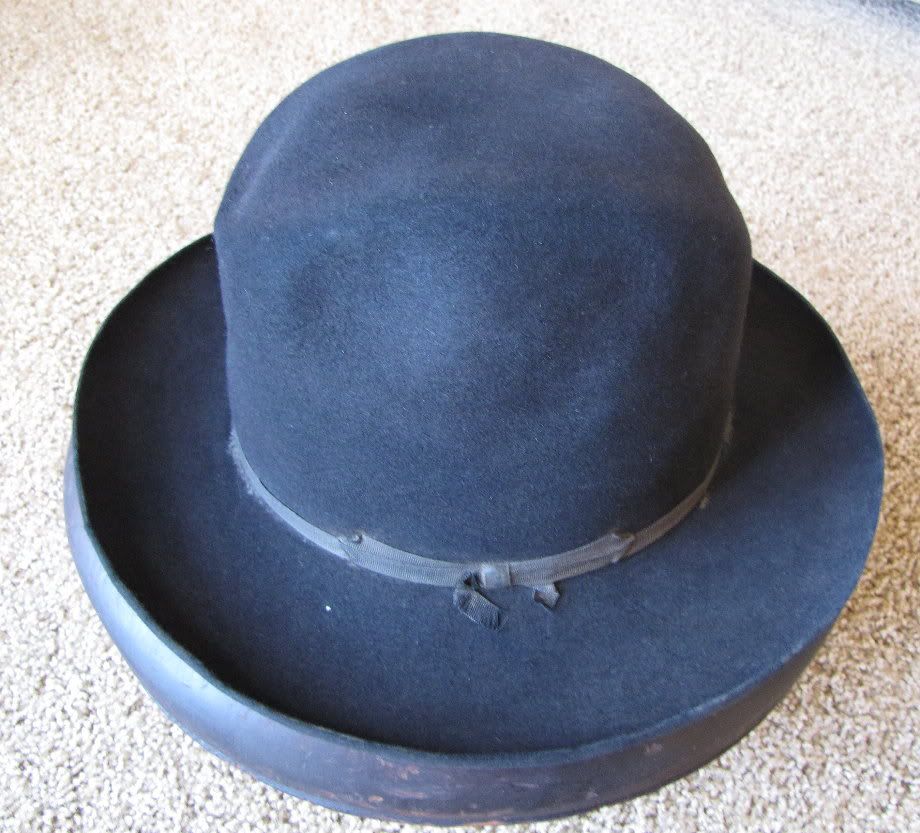
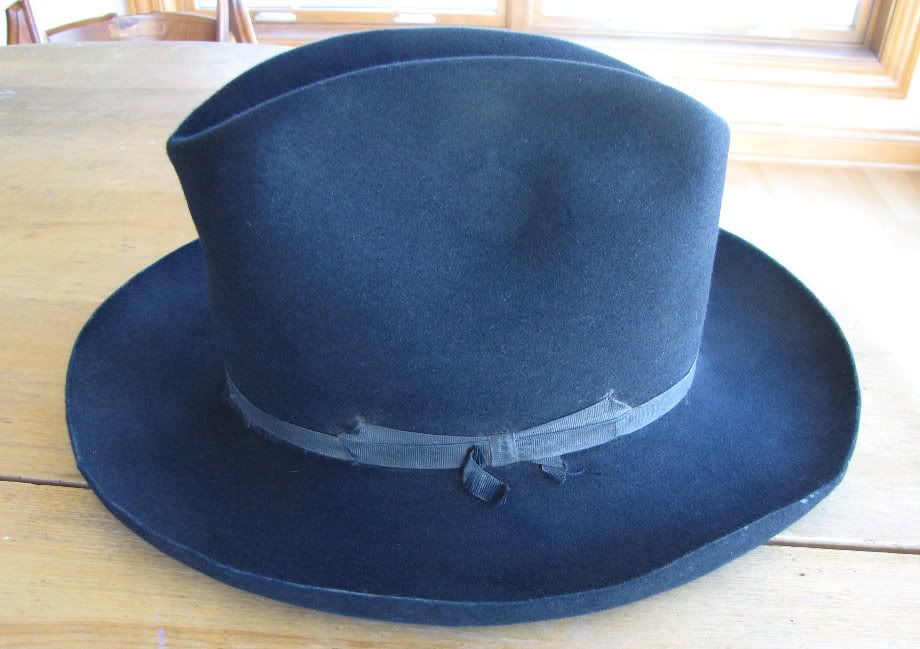
Start with a typical dirty hat. Ok this one looks pretty bad at first glance.


Its very dusty on top...

wacker_drive_slouch_1.jpg


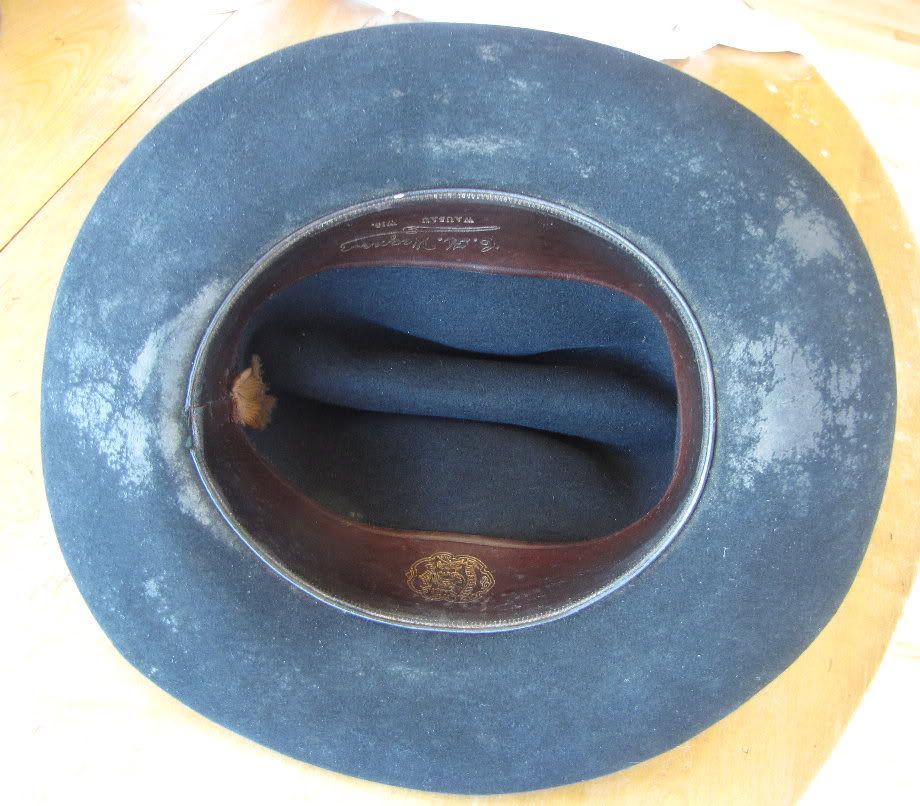
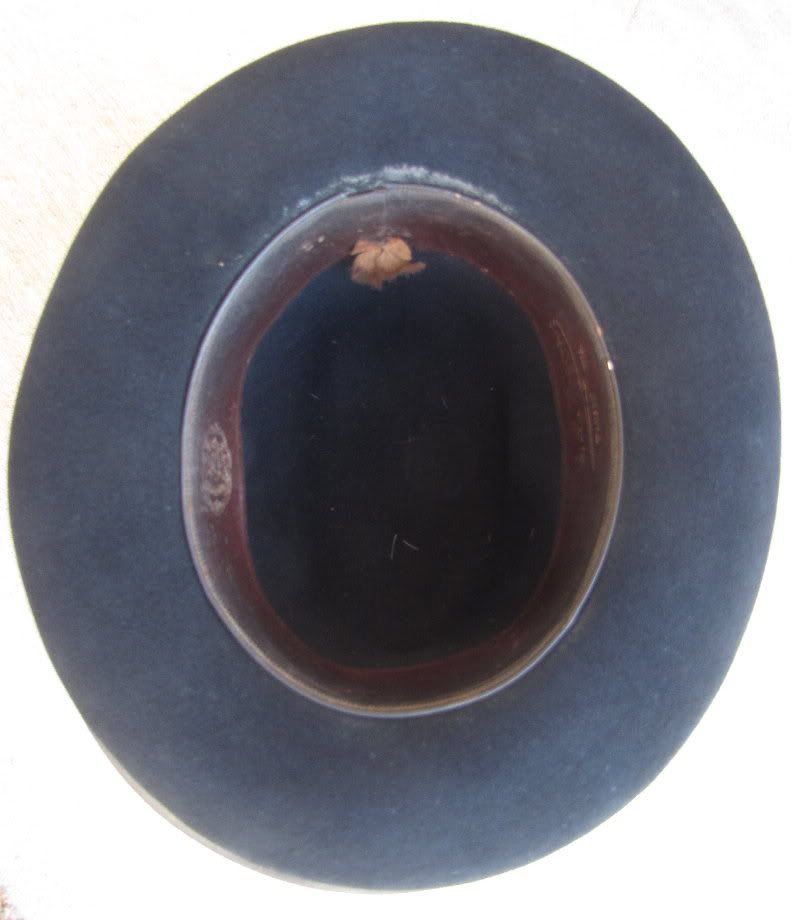
And crusty on the bottom...

wacker_drive_slouch_4.jpg


wacker_drive_slouch_3.jpg


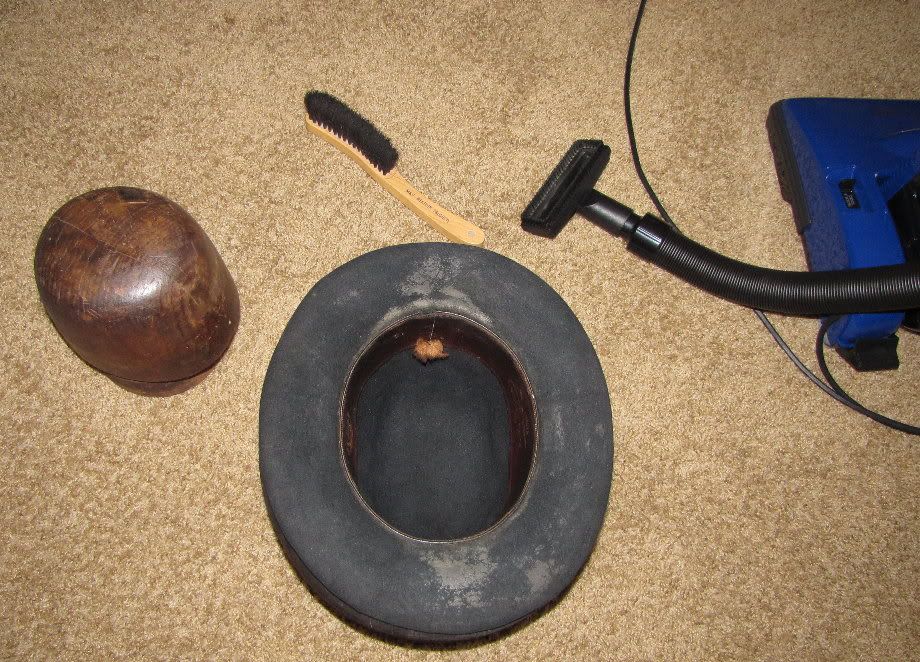
My first step is to vacuum the whole hat with the soft bristle brush attachment of my vacuum. It helps to have a block to use while doing the crown and a flange w/stand for doing the brim....
clean_process_1.jpg


Here is the crown after a vacuum and quick brushing...

crown_clean.jpg


Here is the brim after a vacuum and brushing....

crown_brim_vac_brush.jpg


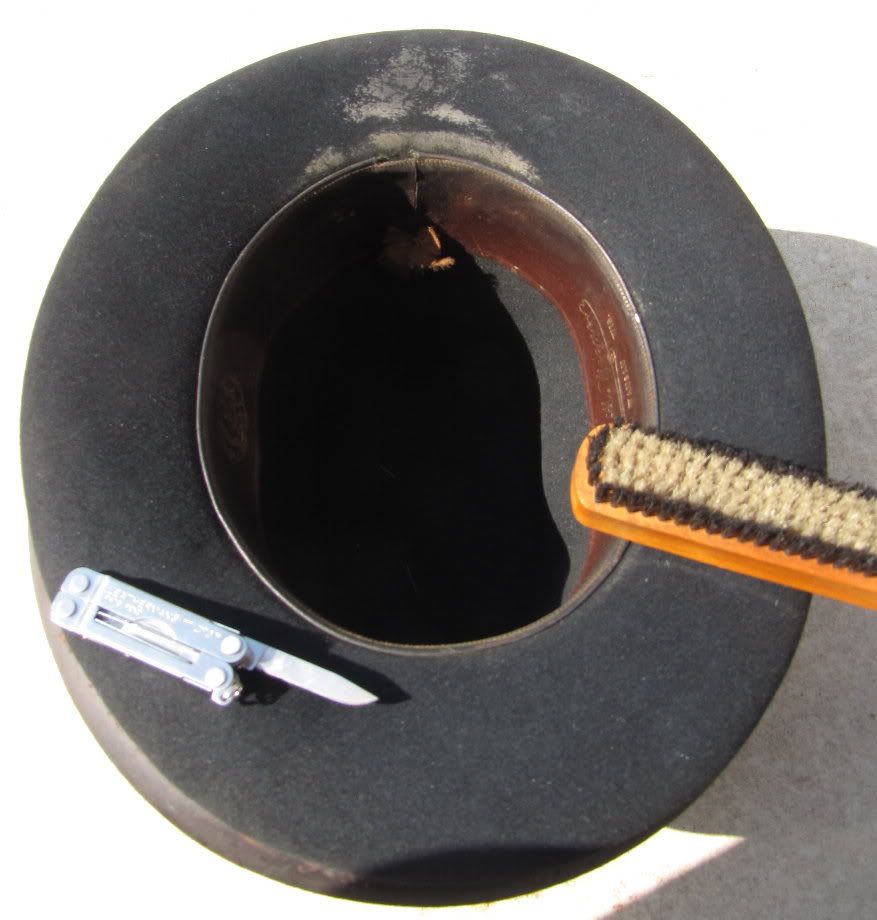
Since this hat had crust on the underside of the brim I use a shorter stiff bristle brush on that. If its really thick and hard (like this hat) I use a dull knife edge or butter knife to carefully scrape the crust. Scrape just enough to loosen the top layer and then brush. You should not be removing any felt. Keep scraping/brushing until the crust is gone. One end finished....

stiff_brush_knife_brim_cleanup.jpg


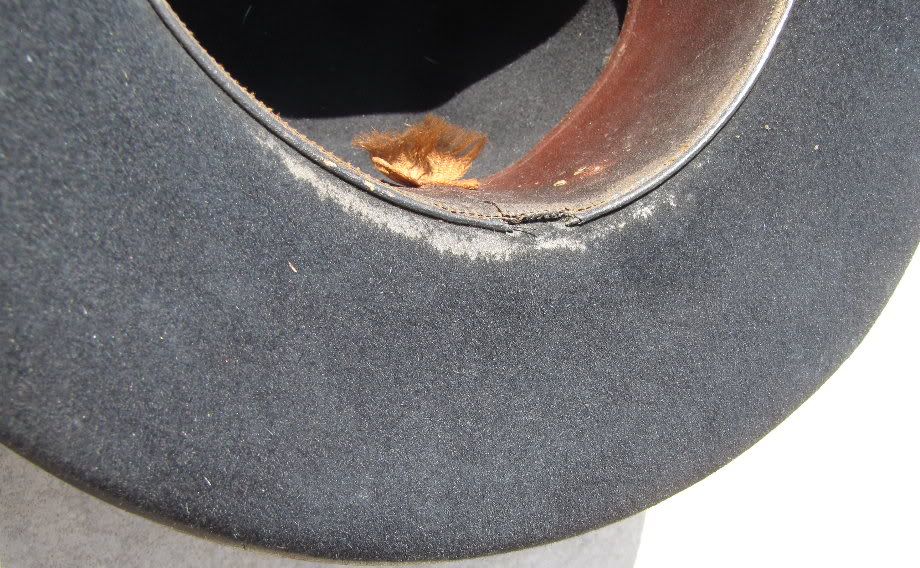
The other end cleaned up with the scrape and brush except for the area right near the rear of the sweatband. That area is more gummy than hard crust. That will require more work beyond "The Basics"...

after_stiff_brush_knife.jpg


After cleaning...

after_cleaning.jpg


Underside of brim after basic cleaning. The gummy area will require more advanced work (possibly Goop, spray cleaner, and/or Naptha)...

under_brim_after_cleaning.jpg


The sweatband on this hat was particularly dirty/grimy. For cleaning the leather I used Lexol leather cleaner, Goop, and vinegar. It took the combination of all 3 and some elbow grease to get the leather nice and clean.
 

FunnelVission

New in Town
Messages
43
Location
Oregon
Hello all! Sorry if I'm out of place with this thread, but while visiting family I had my most prized hat, a Stetson Premier Stratoliner in Sage that I put a 4 point crease in, be forcibly taken by the wind (my fault, I should have just carried the hat to the car. we were seeing strong bursts of wind), and disappeared into the night. It spent the night in their neighbor's field, despite my best efforts to find it (even after miles of searching, and soaking my legs in mud). I had to abandon my search and go home, and by the grace of the gods my Step-Father found it the next day in the field. This is how she looks at the moment, more photos are at the bottom of the post.
Y2XK3tW.jpg


To get to the point, what should I be prepping to do to reverse the damage? It seems the brim took a pretty bad hit, and there's definitely mud/dirt still in the felt. Should I pick up a hat block, and reblock it, or do I stand a change getting the kinks out with steam? As for the brim, it was a snap brim. Is fixing it something I could reasonably do myself, or is it getting into territory I need a hatter for?

I'm by no means expecting to return to how it was, but I want to do everything I can to get it back as much as I can. What I have on hand at the moment is:
  • Hat sponges
  • Hat brush
  • Water Kettle with fairly narrow steam vents
  • De-Waxed shellac suspended in grain alcohol
  • Distilled water
  • Grain alcohol
She has it sitting on the crown, in an unheated and dry area now. She told me she only ran it under tap water to wash the mud off, but otherwise hasn't scrubbed or blown dried it.
B6BRaeF.jpg

vBhiuxq.jpg

KMxUyYt.jpg

Ce1ZRKM.jpg


Any and all help is greatly appreciated! The drive home had me contemplating selling most of my Hats, to include my prized Gannon to get a new one, so I really want to get it back into shape. Having walking through the pastures, in the gale winds, and pouring rains I honestly didn't think I'd ever seen it again.
 
Messages
10,879
Location
vancouver, canada
Hello all! Sorry if I'm out of place with this thread, but while visiting family I had my most prized hat, a Stetson Premier Stratoliner in Sage that I put a 4 point crease in, be forcibly taken by the wind (my fault, I should have just carried the hat to the car. we were seeing strong bursts of wind), and disappeared into the night. It spent the night in their neighbor's field, despite my best efforts to find it (even after miles of searching, and soaking my legs in mud). I had to abandon my search and go home, and by the grace of the gods my Step-Father found it the next day in the field. This is how she looks at the moment, more photos are at the bottom of the post.
Y2XK3tW.jpg


To get to the point, what should I be prepping to do to reverse the damage? It seems the brim took a pretty bad hit, and there's definitely mud/dirt still in the felt. Should I pick up a hat block, and reblock it, or do I stand a change getting the kinks out with steam? As for the brim, it was a snap brim. Is fixing it something I could reasonably do myself, or is it getting into territory I need a hatter for?

I'm by no means expecting to return to how it was, but I want to do everything I can to get it back as much as I can. What I have on hand at the moment is:
  • Hat sponges
  • Hat brush
  • Water Kettle with fairly narrow steam vents
  • De-Waxed shellac suspended in grain alcohol
  • Distilled water
  • Grain alcohol
She has it sitting on the crown, in an unheated and dry area now. She told me she only ran it under tap water to wash the mud off, but otherwise hasn't scrubbed or blown dried it.
B6BRaeF.jpg

vBhiuxq.jpg

KMxUyYt.jpg

Ce1ZRKM.jpg


Any and all help is greatly appreciated! The drive home had me contemplating selling most of my Hats, to include my prized Gannon to get a new one, so I really want to get it back into shape. Having walking through the pastures, in the gale winds, and pouring rains I honestly didn't think I'd ever seen it again.
As a hatter that loves to refurbish vintage hats here is my two cents:
The crown does not look too bad. Now that it is dried if the mud is not ground into the felt it may be possible with the orange sponge to brush it out.
By all means use steam and hand manipulation to get it back into shape. If you purchase a block it is critical that you buy one the same profile as the hat in its original shape. If you get a different profiled block it is very difficult to reblock it and get it exact so that brim dimension is the same. With your ribbon bound brim it is even more critical as you cannot trim the brim if you reblock it with the brim not even.
The brim if it is really deformed presents more of a problem than the crown. It is hard to get it back to original without a properly matching flange.

If I were to take on something like this I would:
Strip it back to basic felt - removing leather sweat, ribbon
Wash with a mild alkaline Orvis paste soap.
Reblock & reflange
Resew the components
Bash to original
The procedure would cost $110 plus two way postage of $40 total. So you are approaching 2/3's the price of a new one. You have nothing to lose by attempting the fix yourself. Try it, see what you produce as there is no risk other than your time. Then if you are not happy with it then consider sending it out.
 

Forum statistics

Threads
109,635
Messages
3,085,405
Members
54,453
Latest member
FlyingPoncho
Top